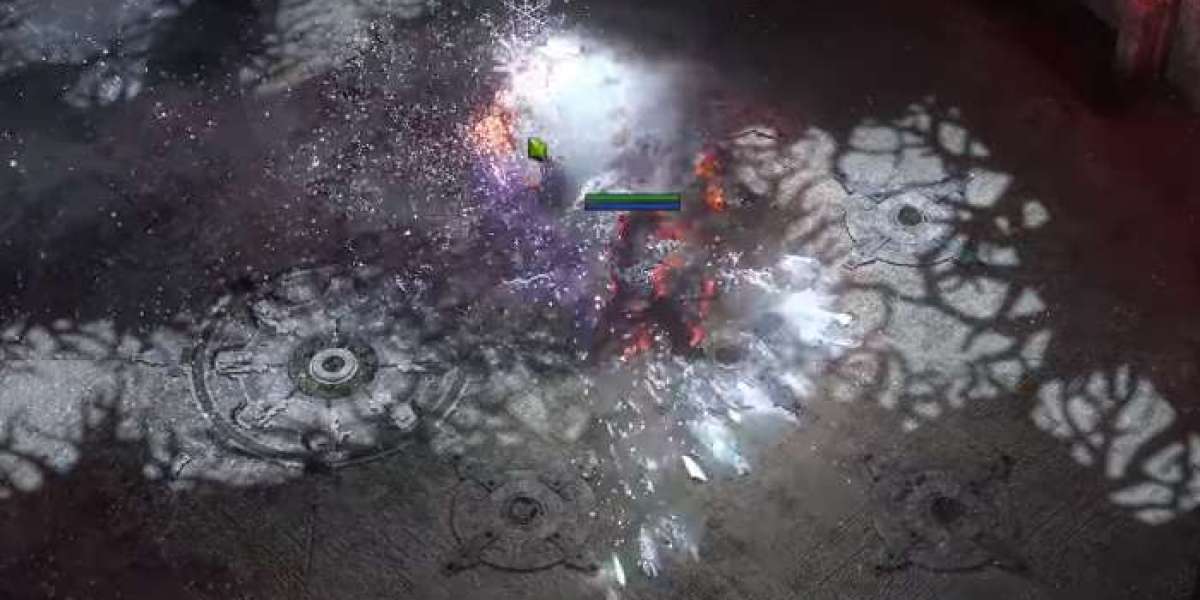

Infernal Cry Gemling is one of those mapping setups that feels better the longer you play it. You are not standing still to line up every pack, and you are not juggling a bar full of attacks. You move, shout, and let Corrupted Blood do the ugly work behind you. In Patch 0.5.5, the build has found a nice place for players who want steady clears without turning every map into a piano session. It can start on a sensible budget, then scale well when more POE 2 Currency becomes available for better gear and gem-level upgrades.
The Core Clear Setup
The whole idea starts with Infernal Cry and Paquate's Pact. Infernal Cry destabilises enemies around you, so dead targets burst and help deal with the rest of the pack. Paquate's Pact takes that a step further by applying Corrupted Blood through its linked effect. That is where the build gets its real bite. A single use can place five Corrupted Blood stacks, which already feels good in crowded maps. Add Echoing Cry, though, and the Warcry repeats twice. Three cries, fifteen possible stacks, then you are already moving toward the next group. You will notice early on that gem level matters far more than most random offensive stats. If Infernal Cry is under-levelled, the build can feel a bit flat. Once those levels come in, packs start dropping while you are halfway past them.
Why Gemling Legionnaire Works So Well
Gemling Legionnaire gives the setup more than just damage support. Gem Studded rewards a balanced spread of Support Gem colours, and that makes the character less awkward to run. Lower costs are useful because you are pressing Infernal Cry all the time. Reduced extra critical damage taken helps when rare monsters catch you in a bad spot. The movement bonus is easy to overlook, but it changes the rhythm of mapping. You spend less time feeling stuck and more time flowing through the zone. Virtuous Barrier adds another layer through Strength, Dexterity, and Intelligence Motes. Strength raises maximum Life. Dexterity helps Armour, Evasion, and Energy Shield. Intelligence brings Life and Mana recovery. There is a neat trick here: equip skills such as Shockwave Totem, Stasis Mine, or Ancestral Warcry even if they are not part of your normal rotation. Their attribute requirements can raise Mote limits, so empty-looking skill slots still pull their weight.
Gear Priorities That Actually Matter
Start with the weapon. Saitha's Spear is popular because +1 to all Fire Skill Gems directly improves Infernal Cry, which in turn improves the Corrupted Blood pressure from Paquate's Pact. A Vaal Cultivation Orb can be used when chasing that modifier. Socketing Jiquani's Soul Core of Rallying adds another +1 to all Warcry Skill Gems, and that is exactly the kind of upgrade this character wants. Fireflower follows the same logic, bringing Fire gem levels alongside Item Rarity. Greed's Embrace is more about farming value. Its rarity bonus is already solid, and a Rabbit Idol can push it further. If you have the means, Agonizing Calamity on Fireflower can add Physical Damage while Herald of Blood is active. That bonus feeds into the build's bleed-style damage plan nicely. For the rest of the slots, keep it practical: Life, resistances, Armour, and whatever fills a real weakness in your character sheet.
Mapping Pace and Upgrade Order
Level 65 is a fair point to begin shaping the character around this idea. Get Infernal Cry, Paquate's Pact, and Echoing Cry working first. Do not rush into expensive rarity pieces before the main skill feels good. A better gem level or a proper weapon often does more than a fancy ring ever will. Breach is an obvious fit because monsters arrive in thick waves. Expedition also feels good, especially when several groups pile into the same space. The rotation stays simple: keep moving, use Infernal Cry as packs appear, and let the echoes cover what you have already passed. Headhunter can make dense maps feel wild, but it is a luxury, not a requirement. Mageblood can also work if you would rather lean into flask comfort. Either way, the basic version does not need either belt to clear well.
Final Thoughts
This is a mapper for people who like momentum. Infernal Cry Gemling is not about perfect targeting or flashy button chains; it is about getting through dense content without breaking your stride. Build around skill levels first, keep Motes healthy, and add rarity only after the core damage is doing its job. As your budget grows, poe2 rmt can help players looking for a faster route into premium upgrades, while Saitha's Spear, Fireflower, and stronger defensive rares remain the upgrades that shape how the build actually feels in maps.